Blog

  • Make Your Own Natural & Amazing Skincare (recipes included!)

    Make Your Own Natural & Amazing Skincare (recipes included!)

    Hiya Gorgeous!

    Today I’m super excited to announce our new beauty editor… Danielle Shine!

    Danielle is a Natural Foods Chef and Health Coach who specializes in making DIY beauty recipes. She’ll be sharing her talent with us here at KrisCarr.com—and I’m so excited to have her on board!

    This week, Danielle will be showing us how to use common kitchen ingredients to make our own beauty products and skincare at home.

    How cool is that? While you’re whipping up that morning smoothie or healthy dinner, why not add some skin and haircare recipes to the menu too.

    Without further ado, here’s the amazing and wonderful beauty advice from Danielle…

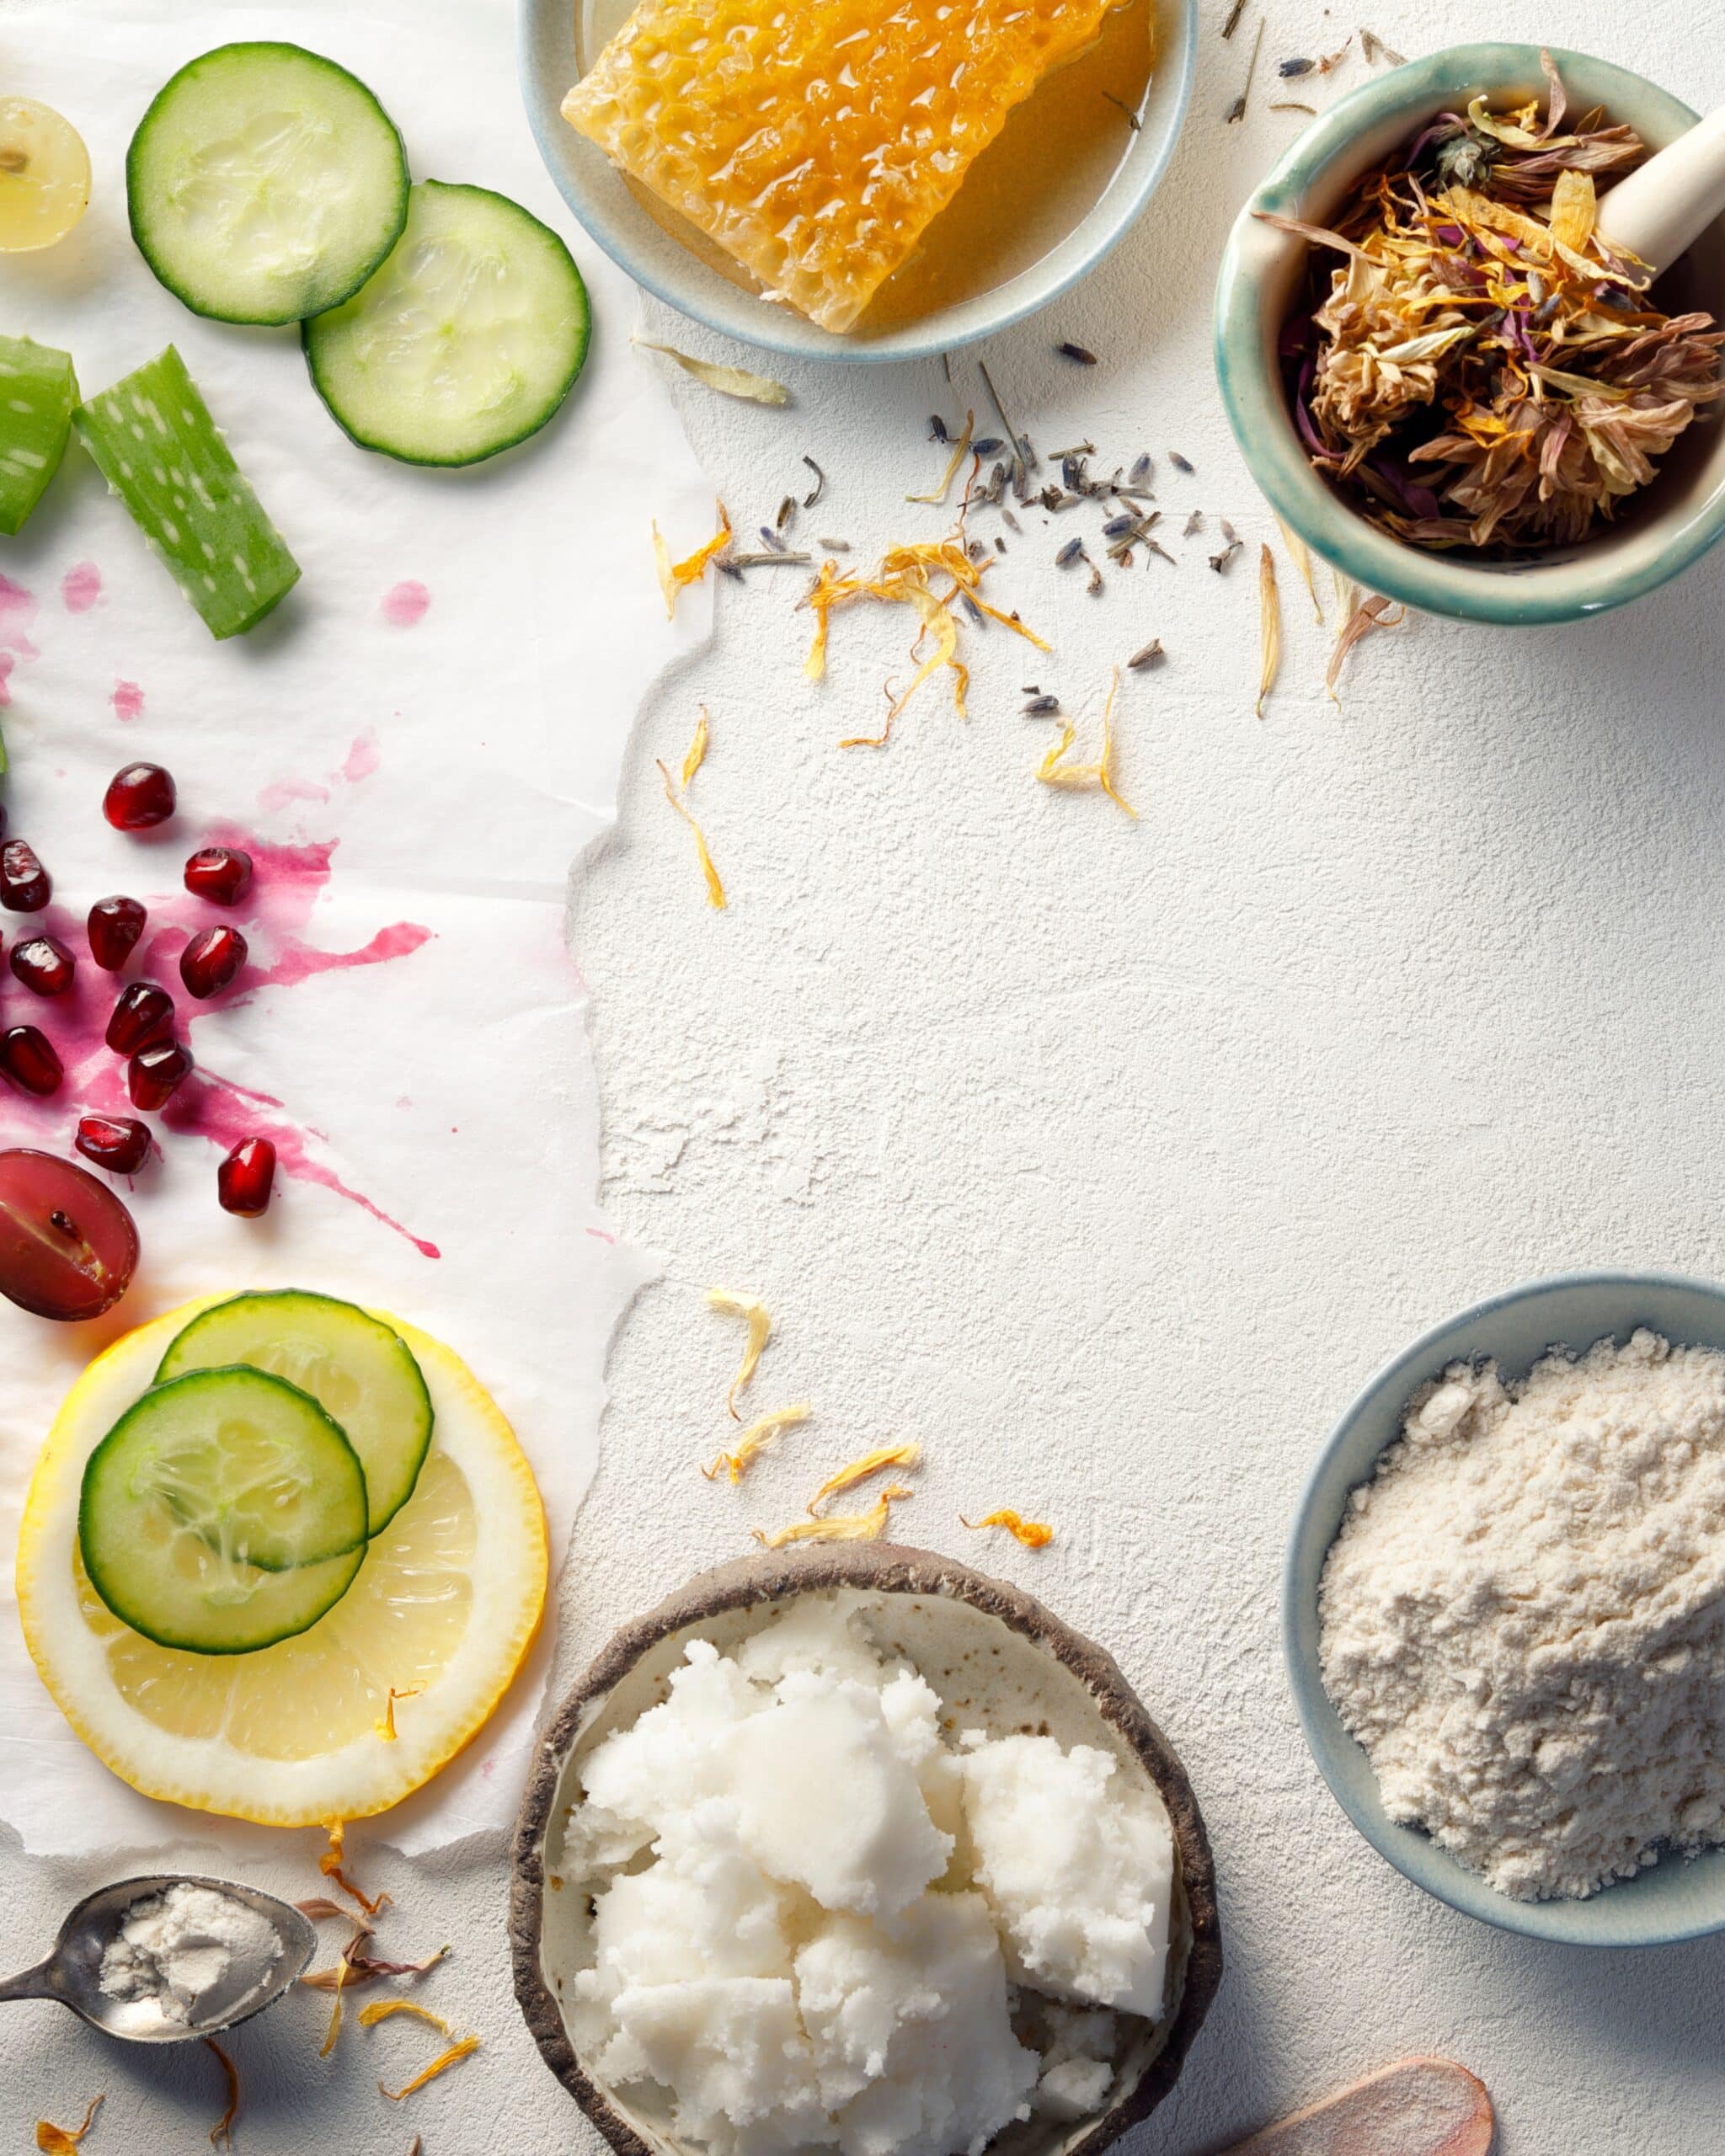
    Kitchen Cupboard Skincare Essentials

    by Beauty Editor Danielle Shine

    Having just spent a small fortune on the latest n’ greatest brand-name skin care products promising to make my skin look clearer, glossier, brighter, healthier, *insert-more-desirable-words-here* I did NOT want to hear this news, but boy am I glad I did!

    I’d just scored the job of all jobs: I was a fashion PR girl in London, destined to live a life FILLED with glamour, style and sophistication! Only… I wasn’t feeling so fabulous because my skin was constantly dry, dull and flaky—prone to breakouts any day of the week, usually right before important meetings, first dates and anything remotely exciting requiring me to look and feel my absolute best.

    I was tired, broke and desperate.

    I’d begun asking anyone with normal-looking skin to PLEASE HELP ME, buying anything and everything recommended in a bid to bring back healthy skin that would make me feel confident. And then finally someone told me:

    “Beauty products are highly overrated and filled with all kinds of nasty chemicals that confuse your body. You have all you need at home in your kitchen cupboards, start there…”

    The day I received this advice had been a long one. I was tired and desperate to go home and scrape off the thick-as-cement foundation I’d applied that morning to hide all the multitude of issues I was dealing with underneath. I had one more meeting then I was done…That was THE meeting that changed the skincare game for me!

    Long story short, I met an A-list celeb client who was visiting the office for a fitting.

    She took one look at my makeup-drowned-face, promptly telling me I had to:

    1. Clean up my diet (light bulb number one)
    2. Go back to skincare basics by ditching expensive products in favor of more natural, gentler and more effective solutions often found in my kitchen cupboards!

    Because I’m not one to keep anything health-supportive to myself, here are some of the BEST kitchen cupboard items I’ve found to be incredibly effective when it comes to skincare…

    Food-Based Beauty Recipes

    Cacao Butter

    If you’re a chocoholic like me, you’ll already know this healthy fat-filled plant butter is the main element you need to create a healthier version of your favorite chocolate bar, but did you know cacao butter is also used in MANY beauty products like body lotions, lipsticks and face creams?

    Cacao butter is included in mainstream beauty products because it soothes sensitive skin and helps reduce inflammation. Rich in vitamin E (far more than shea butter, another common ingredient used in commercial moisturisers and stretch mark creams), cacao butter also contains Vitamin K and health-supportive fatty acids including oleic, linoleic, arachidic and palmitic which lubricate the skin, forming a protective healing layer to lock in moisture and promote healing.

    How to use at home:
    Warm a little in your hands and massage it into arms, legs, elbows – anywhere you need extra moisture!

    Break off a 1-inch piece and drop it into your next bath. The hot water will melt its buttery goodness which can then be absorbed into the skin, leaving it silky smooth minus any synthetic chemicals!

    Coconut Oil

    Most commonly known as the sweet-smelling, deliciously-decadent oil that complements MANY real-food-recipes, coconut oil is truly the gift that keeps on giving. Thanks to its potent antioxidants, antibacterial properties and moisturizing fatty acids that possess potent disinfectant and antimicrobial properties, coconut oil possesses the power to moisturize, safeguard and help skin heal FAST!

    A little goes a LONG way, but have fun experimenting its effectiveness via the suggestions below.

    How to use at home:
    Massage 1 teaspoon worth onto skin before shaving. Using coconut oil in place of overpriced chemical-laden shaving creams is a much safer, more simple and sterile way to nix unwanted hairs on your body while moisturising those areas too.

    Massage 1-2 teaspoon/s over makeup, following with a warmed facial cloth to easily, effectively remove every last bit of the day—including all the microscopic grime, bad bacteria and dirt build up that naturally accumulates on your skin.

    Sweet Almond Oil

    A great health-supportive oil to move from your kitchen to the bathroom to take advantage of its many healing benefits. Sweet almond oil is packed with vitamins E and A, monosaturated fatty acids, protein, potassium and zinc that support, strengthen and soothe skin FAST.

    When applied topically, the Vitamin E in sweet almond oil helps promote softer, smoother looking skin. It also aids in protecting the skin by actively reducing free radical damage that contributes to premature aging.

    Vitamin A is often celebrated for its effective wound healing abilities. Aside from its powerful ability to reduce acne, it also supports production of collagen responsible for keeping skin supple and wrinkle-free.

    How to use at home:
    Dark under eye circles BE GONE! Gentle massage 2 drops onto the skin around your eyes, using very light touch, two to three times throughout the day and watch the darkness turn to light.

    Want longer, more luscious lashes? Combine 1 teaspoon sweet almond oil with 1 teaspoon castor oil, find a spare mascara wand and paint on this magical mixture before bedtime.

    Vanilla Extract

    Got organic vanilla extract? Don’t just use it in baking! Vanilla extract has long been used to reduce skin infections and support wound healing. It houses potent anti-inflammatory properties that help soothe irritated skin and provide protection from free radical damage. It also contains essential B vitamins including niacin, thiamin, riboflavin, vitamin B6, and pantothenic acid which (internally and externally) help maintain healthy-looking skin.

    How to use at home:
    Ditch synthetic, chemical-laden perfumes and create your own instead! Combine 1 tablespoon of vanilla extract with 2-3 tablespoons of sweet almond oil (depending on your preference of scent) in a darkened spray bottle which will keep it fresher for longer—up to 6 months. Shake well before each use and spray on pulse points for best results.

    Create a delicious-smelling, antioxidant-rich bath by blending 1 tablespoon vanilla extract + 1 cup oatmeal + 1 cup water + ½ cup baking soda. Pour this sweet-smelling paste under running water to infuse into your bath. The oats will soothe dry, itchy skin while the baking soda will help to remove bacteria and any odours from the day.

    A few more fun foodie ingredients to consider playing with…

    Organic cornstarch

    Most commonly used as a thickening agent in liquid-based foods like soups, sauces, gravies, custards and yogurts, cornstarch can also perform a variety of helpful beauty roles too. Given its main role is to absorb moisture, it’s best used in place of things like talc powder and dry shampoo (when paired with a little baking soda). A little sprinkled directly onto an unruly knot will help to lubricate the fibers of your hair, making it MUCH easier to manage!

    Beer

    Weird but true, this yeast-y beverage makes the BEST rinse and setting lotion for your luscious locks (your hair!). Best used when flat not fresh, the sugar and protein in beer work to thicken your hair, so the next time someone offers you a ‘cold one’, say yes, open it up and leave it for a couple hours, then *BOOM* hello amazing hair treatment! Oh, and ladies, do NOT worry about any weird beer smells, the odor disappears as soon as your hair dries, I’ve tried and tested it.

    Liquid Chlorophyll

    Was it just me who jumped on the bandwagon of adding liquid chlorophyll to water a few years ago or did you do this too? Back then it was quite pricey, though nowadays it’s much cheaper and easier to find. Essentially, chlorophyll is to plants what haemoglobin is to blood: an extremely VITAL part of healthy (plant) life. Aside from it being a great addition to your diet, it makes for a wonderful antibacterial, anti-inflammatory toner for your skin also! Apply a little on a cotton bud and pat onto any areas that may need a little extra love and attention – chlorophyll is an excellent wound healer.

    Your turn: Did this article inspire you to try this at home? Let us know! And if you’re already tinkering with making your own beauty products, tell us about it in the comments below. We’d love to try them out!

    Peace & beauty,

  • Creamy Mushroom & Kale Pasta

    Creamy Mushroom & Kale Pasta

    Ingredients

    Creamy Mushroom Sauce

    • 2 teaspoons extra virgin olive oil
    • 1 1/2 cups chopped crimini mushrooms (about 8 ounces)
    • 1/2 cup cashews, soaked overnight and drained
    • 2/3 cup water
    • 1 tablespoon nutritional yeast
    • 2 tablespoons lemon juice
    • 1 teaspoon Dijon mustard
    • 3/4 teaspoon salt
    • 1 tablespoon truffle oil (optional)

    Pasta

    • 8 ounces whole wheat or gluten-free pasta (such as shells, penne or rotini)
    • 2 tablespoons extra virgin olive oil
    • 10 ounces crimini mushrooms, sliced
    • 1 small (or 1/2 large) yellow onion, diced
    • 3 cloves garlic, minced
    • 6 tightly packed cups kale, tough stems removed and leaves chopped
    • 1/4 teaspoon salt
    • Freshly ground black pepper, to taste
    • 1/4 teaspoon crushed red pepper (optional)
    • 2 teaspoons tamari


    Directions

    1. In a large saucepan, heat 2 teaspoons extra virgin olive oil over medium heat. Add the 1 1/2 cups chopped cremini mushrooms and sauté until tender, about 5 minutes. Remove from heat and let cool.

    2. In a high speed blender, add soaked cashews, cooked mushrooms, water, nutritional yeast, lemon juice, Dijon mustard, salt and truffle oil (if using). Blend until completely smooth and creamy, about 2 minutes.

    3. Prepare pasta according to package directions.

    4. While pasta is cooking, heat extra virgin olive oil over medium heat in your large saucepan. Add mushrooms and onion and sauté until mushrooms are tender and onions are translucent, about 5 minutes. Add garlic, kale, salt, pepper, crushed red pepper, and tamari, and sauté an additional 3 minutes, or until kale is wilted and tender.

    5. Pour creamy mushroom sauce into kale mushroom mixture and heat over low, or until heated through and sauce is slightly thickened.

    6. Add drained, hot pasta to saucepan and gently stir to combine, or until pasta is coated with creamy mushroom sauce. Serve immediately.

  • Almond Butter Banana Pancakes

    Almond Butter Banana Pancakes

    Almond Butter Banana Pancakes

    Ingredients

    • Coconut oil for the pan
    • 1 1/2 cups almond flour
    • 1 cup rolled oats
    • 2 teaspoons baking soda
    • A dash of salt
    • 1 tablespoon ground cinnamon
    • 3 tablespoons ground flax seed
    • 3 tablespoons chia seeds
    • 2 cups almond milk
    • 2 tablespoons maple syrup
    • 2 ripe bananas
    • 1/4 cup almond butter

    Optional toppings:
    Blueberries, Peaches, Maple syrup


    Directions

    1. Put the oats and chia seeds into a food processor or blender and blend until you make a rough flour.

    2. Set the flour mixture aside. Add all ingredients through almond milk.

    3. Next, slice the bananas and prep the almond butter. I like letting the almond butter sit out for a while so it’s nice and smooth. Add both the bananas and almond butter to the mixture and stir.

    4. Grease a flat-bottomed pan with the coconut oil and let it warm up at medium heat for a few minutes until you add the pancakes. Wait until the edges are slightly browned and you see bubbles coming up through the dough to the surface before flipping. This might take a few minutes depending on how hot your pan was when you began cooking.

    Carolyn says: I love cooking a full batch of these pancakes on a Sunday, then freezing them for enjoyment over the course of a week. Just reheat over the stove or pop them into the toaster, then head out the door!

  • Maple and Almond Chia Overnight Oats

    Maple and Almond Chia Overnight Oats

    Ingredients

    • 1 cup gluten-free thick-cut oats
    • 1/4 cup chia seeds
    • 1 teaspoon cinnamon
    • 2 tablespoons maple syrup
    • 1 3/4 cups almond milk
    • 2 tablespoons almond butter

    Optional Toppings:
    Hemp, Cacao, Homemade Almond Butter, Berries


    Directions

    1. Start by mixing the oats, chia, and cinnamon together in a large bowl.

    2. In a separate container, whisk together the maple syrup, almond butter, and almond milk. Pour the wet mixture over the dry and stir together.

    3. Cover your oats and let them sit overnight in the fridge and get ready for an amazing morning meal! Top with superfoods like hemp, cacao nibs, homemade almond butter, and berries.

  • How to Make Meditation Super Easy (video)

    How to Make Meditation Super Easy (video)

    Hiya Gorgeous!

    Whenever I feel a little off or anxious, it’s usually a sign that I’ve neglected my inner life. Instead of searching for the next book, blog or trend, I know I just need to sit my tush on the cush and go inside.

    The world will always make us feel like the answers are out there. But you and I both know that the opposite is true.

    Your ability to realign yourself by turning inward is your superpower, and helping you do that more is the goal of today’s video.

    Meditation has been a grounding force in my life for over a decade.

    It calms my mind, soothes my nervous system and reduces stress. Meditation will do that for you and more, it will also empower you to follow your dreams, achieve your goals and feel your very best—no matter what life throws at you this glorious year!

    Click play and let’s walk you through some easy practices to demystify meditation so that it’s both doable and enjoyable. No need to over think it, be intimidated by it or blow it off, yet again. Meditation is medicine, my friends. So let’s start feeling better, asap!

    In this video, you’ll learn:

    • What meditation is really about (it may not be what you think!)
    • Proper posture and position
    • 4 simple techniques to ground and guide you
    • And why a regular practice will transform you

    So make sure to watch the video and then talk to me. I want to hear from you and I’ve got a little challenge for ya, to help jump start your progress.

    Your turn: In the next 24 hours, I want you to take 10 minutes and give one of these practices a try. Let me know you’re up for the challenge by dropping a comment below and saying, “I’m in!”

    I love you and I want the best for you this year—body, mind and spirit. Let the meditation begin. xo!

    Peace and deep breaths,

  • 3 Simple Habits to Support All Your Goals

    3 Simple Habits to Support All Your Goals

    Hiya Gorgeous!

    Happy New Year and BIG NEWS! To help and support you more this year, we’re rolling out a big change at my blog. To kick off 2018, I’m bringing video back! It’s something I’ve wanted to do for a while because it’s one of the best ways to connect with you. With that intention in mind—this year, you’ll be seeing mostly video on my Kriscarr.com. Woohoo! There are so many topics I want to explore to help you thrive in 2018—starting with 3 key habits to support your goals.

    We all have things we’d like to achieve, whether it’s more vibrant health, renewed relationships, career milestones, or bringing life to the creation waiting inside you. Whatever your goals may be, the new year is the perfect time to set your sights on what you want to achieve and the habits you’ll need to get you there.

    There’s a million ways for us to achieve our goals, so I’m not going to get into that specifically. What I do want to share is how certain habits can create a runway to success.

    The small steps we take each and every day are what make our dreams come alive.

    In this video, you’ll hear about the simple but trusty habits that have helped me achieve my goals—and why I actually prefer to limit how much I wanna accomplish. We can only do so much in one year, so whether we like it or not, it’s important to be realistic.

    If you’re like me, you have lots of ideas and dreams. Amazing! This video will help you create a mindset, practice and approach that will help you turn your dreams that matter most into reality.


    Here’s what you’ll learn:

    • Why I believe Less is Better
    • How I build to build a safety net for your goals
    • Why I love adding first, then subtracting
    • And my ultimate mantra which will guide you to meet any goal you set!


    I really hope you enjoy this first of many new videos I’m creating for you. May you have a wonderful year, filled with miracles and blessings.

    Your turn: I’d love to hear from you! What are you excited to focus on this year? Let me know in the comments below. Or if you have a successful habit tip or a way of approaching goal setting, tell us about it.

    Peace and inspired action,

  • Vegan Eggnog Chia Pudding

    Vegan Eggnog Chia Pudding

    Vegan Eggnog Chia Pudding

    Ingredients

    • 1 15 ounce can full fat coconut milk
    • 1 cup unsweetened almond milk
    • 2 tablespoons maple syrup
    • 1/4 teaspoon cinnamon + more for sprinkling
    • 1/4 teaspoon nutmeg
    • 1/2 cup chia seeds


    Directions

    1. In a large bowl, whisk all ingredients until well combined.

    2. Pour pudding into mini-mason jars or other containers.

    3. Refrigerate at least 4-6 hours.

    4. Sprinkle with cinnamon and enjoy!

  • Gingerbread Spice Pancakes

    Gingerbread Spice Pancakes

    Gingerbread Spice Pancakes

    Ingredients

    Pancakes:

    • 1 cup all purpose flour
    • 3/4 cup oat flour (3/4 cup of rolled oats, blended or processed in a food processor)
    • 2 1/2 teaspoon baking powder
    • 1/4 teaspoon salt
    • 1 teaspoon cinnamon
    • 1 teaspoon ground ginger
    • 1/2 teaspoon ground cloves
    • 1/2 teaspoon nutmeg
    • 2 cups nondairy milk
    • 1/4 cup coconut oil, melted
    • 1 teaspoon vanilla extract
    • Nonstick spray

    Cinnamon Apples:

    • 1 teaspoon coconut oil
    • 2 medium apples, peeled, cored and chopped
    • 1/2 teaspoon cinnamon
    • 1 teaspoon pure maple syrup
    • 1/2 teaspoon vanilla extract
    • 1 tablespoon hemp seeds
    • Small pinch salt

    Maple Whip:

    • 1 13.5 ounce can coconut cream, chilled overnight*
    • 2 tablespoons pure maple syrup
    • 1 teaspoon vanilla extract


    Directions

    Pancake Instructions:
    1. In a large bowl, whisk to combine all purpose flour, oat flour, baking powder, salt, cinnamon, ginger, cloves, and nutmeg. Set aside.

    2. In a small bowl, whisk to combine nondairy milk, coconut oil and vanilla extract. Add to dry mixture and stir until just combined. Some lumps are ok.

    3. Heat a griddle or large nonstick pan over medium heat. Spray with nonstick spray and add 1/4 cup increments of batter onto the griddle. Cook 2-3 minutes, or until bubbles form on surface of pancakes. Flip and cook for an additional 1-2 minutes. Set aside and keep warm in a 200 degree (Fahrenheit) oven until apples and whip are ready.

    Cinnamon Apple Instructions:
    1. In a medium pan, heat coconut oil over medium heat. Add apples, cinnamon, maple syrup, vanilla extract, hemp seeds, and salt and stir to combine. Cook, stirring frequently, for 8-9 minutes, or until apples are tender. Remove from heat and set aside.

    Maple Whip Instructions:
    1. Open the can of coconut cream and scoop the cream into a large bowl. Using an electric hand mixer or stand mixer, beat the coconut cream on low until fluffy and smooth (this can take up to 12 minutes). Add maple syrup and vanilla extract and beat an additional 1-2 minutes. Keep refrigerated until ready to serve.

    To Serve:
    1. Place 2-3 warm pancakes on each of 5 plates, topped with vegan butter if desired, and divide cinnamon apples and whip toppings evenly over the plates.

    Note for coconut cream: Some brands (like Trader Joe’s) are more dry than others and may be hard to scoop out of the can once chilled. If you find this to be the case when opening the can, sit the can in a warm pot of water for 10 minutes. Then, once you’ve made the maple whip, you can chill it in the fridge for an additional 30 minutes.

  • Gingerbread Spice Pancakes with Cinnamon Apples & Maple Whip (video)

    Gingerbread Spice Pancakes with Cinnamon Apples & Maple Whip (video)

    Hiya Gorgeous!

    The holidays are almost here! Many of us will be hosting our loved ones in our homes or making the trip to stay with family & friends. I don’t know about you, but I love impressing my peeps with some “Mmm” inducing plant-based deliciousness this time o’ year.

    With that in mind, I want to share a decadent breakfast for you to prepare for your family this season: Gingerbread Spice Pancakes with Cinnamon Apples and Maple Whip. OMG, they are sooo frickin’ good!

    It’s the perfect recipe to make to kick off the merriment one holiday morning. I’ll be honest, this one has more of the sweet stuff than I usually would include. But it’s a seasonal treat for a special occasion and it’s meant to do just that—treat you and your fam!

    As a reminder, Test Kitchen Tuesday is my way of sharing new recipes that are simple to make, have few ingredients to buy and come with a little step-by-step video tutorial to guide you along the way.

    Hit play below to see just how easy it is to whip up this mouth-watering holiday morning feast. Bonus: you’ll definitely impress your family, friends and loved ones with this one! Without further ado, let’s make some delicious and dreamy pancakes together!

    Gingerbread Spice Pancakes with Cinnamon Apples and Maple Whip

    Makes 10-12 Pancakes, about 5-6 servings

    Ingredients

    Pancakes:
    1 cup unbleached all purpose flour
    ¾ cup oat flour (3/4 cup of rolled oats, blended or processed in a food processor)
    2 ½ tsp baking powder
    1/4 tsp salt
    1 tsp cinnamon
    1 tsp ground ginger
    1/2 tsp ground cloves
    1/2 tsp nutmeg
    2 cups nondairy milk
    ¼ cup coconut oil, melted
    1 tsp vanilla extract
    Nonstick spray

    Cinnamon Apples:
    1 tsp coconut oil
    2 medium apples, peeled, cored and chopped
    ½ tsp cinnamon
    1 tsp pure maple syrup
    ½ tsp vanilla extract
    1 Tbsp hemp seeds
    small pinch salt

    Maple Whip:
    1 13.5 oz can coconut cream, chilled overnight*
    2 Tbsp pure maple syrup
    1 tsp vanilla extract


    Directions

    Pancake Instructions:
    1. In a large bowl, whisk to combine all purpose flour, oat flour, baking powder, salt, cinnamon, ginger, cloves, and nutmeg. Set aside.

    2. In a small bowl, whisk to combine nondairy milk, coconut oil and vanilla extract. Add to dry mixture and stir until just combined. Some lumps are ok.

    3. Heat a griddle or large nonstick pan over medium heat. Spray with nonstick spray and add ¼ cup increments of batter onto the griddle. Cook 2-3 minutes, or until bubbles form on surface of pancakes. Flip and cook for an additional 1-2 minutes. Set aside and keep warm in a 200 degree oven until apples and whip are ready.

    Cinnamon Appple Instructions:
    1. In a medium pan, heat coconut oil over medium heat. Add apples, cinnamon, maple syrup, vanilla extract, hemp seeds, and salt and stir to combine. Cook, stirring frequently, for 8-9 minutes, or until apples are tender. Remove from heat and set aside.

    Maple Whip Instructions:
    1. Open the can of coconut cream and scoop the cream into a large bowl. Using an electric hand mixer or stand mixer, beat the coconut cream on low until fluffy and smooth (this can take up to 12 minutes). Add maple syrup and vanilla extract and beat an additional 1-2 minutes. Keep refrigerated until ready to serve.

    To Serve:
    1. Place 2-3 warm pancakes on each of 5 plates, topped with vegan butter if desired, and divide cinnamon apples and whip toppings evenly over the plates.

    Note for coconut cream: Some brands (like Trader Joe’s) are more dry than others and may be hard to scoop out of the can once chilled. If you find this to be the case when opening the can, sit the can in a warm pot of water for 10 minutes. Then, once you’ve made the maple whip, you can chill it in the fridge for an additional 30 minutes.

    Your turn: Have a recipe you’d want our team to make in our new Test Kitchen? Let me know in the comments!

    Peace and pancakes,